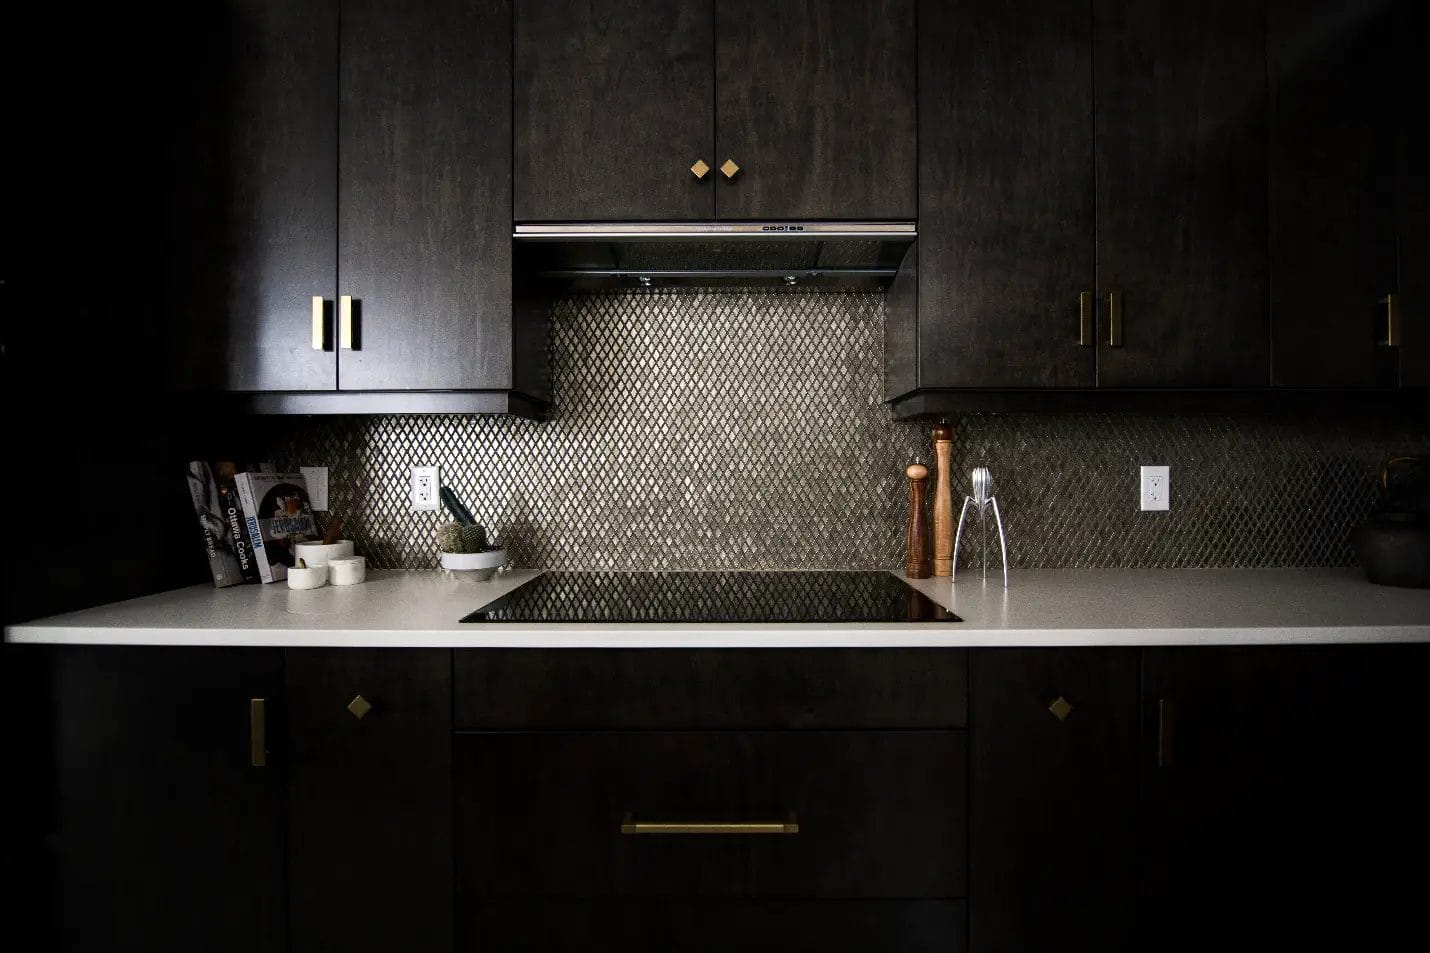
Pot fillers, people either love them or hate them. Some people swear by them, while others think they’re entirely unnecessary. Featured in celebrity kitchens and modern homes, it is becoming quite the trend not to carry a big pot of water from the sink to the stove.
So, you’ve seen pot filler faucets floating around the internet on social media. You were skeptical at first, but you’ve slowly been convinced yourself you need one. It will make cooking more convenient and elevate the look of your kitchen stove backsplash.
Can You Install a Pot Filler on an Existing Wall?
However, you’re left wondering how stuff will work out since you decided. Can I install it on my preexisting wall? How much will it cost? Where will the water come from? These are all valid concerns. You might not want to invest in a huge renovation just for a tap.
If your home is new, there may be a chance that it came will a water supply behind the stove. If that’s the case, installing the pot filler will be as easy as counting one, two three. However, if that is not the case, then a plumber will be able to install a water supply in the wall with no problem, but it could cost a pretty penny.
The plumber or contractor would cut into the wall, removing any backsplash tiles in the area to avoid damaging them.
He would install some pipes unto the wall frame. His first recourse would be to connect it to the water supply from the sink, but if it is too far, he may use the main water supply instead.
After creating a water source, he will simply close up the wall and retile it as if nothing ever happened. After that, he can install the pot filler seconds before your eyes. If you do not want to call in an expert just to make one change to your kitchen, you can wait until you are renovating the whole kitchen. Or, if you are happy with how your kitchen looks but it’s missing that final touch, you can ask a friend or neighbor to help out with the water source.
However, if you are lucky and have a water source above your stove, you can install your pot filler yourself. It is not that complicated. Before you start, check to see if your pot filler can reach all over your stove. If it is too short, you are better off replacing it with a longer one.
How to Install Your Pot Filler
What You Will Need
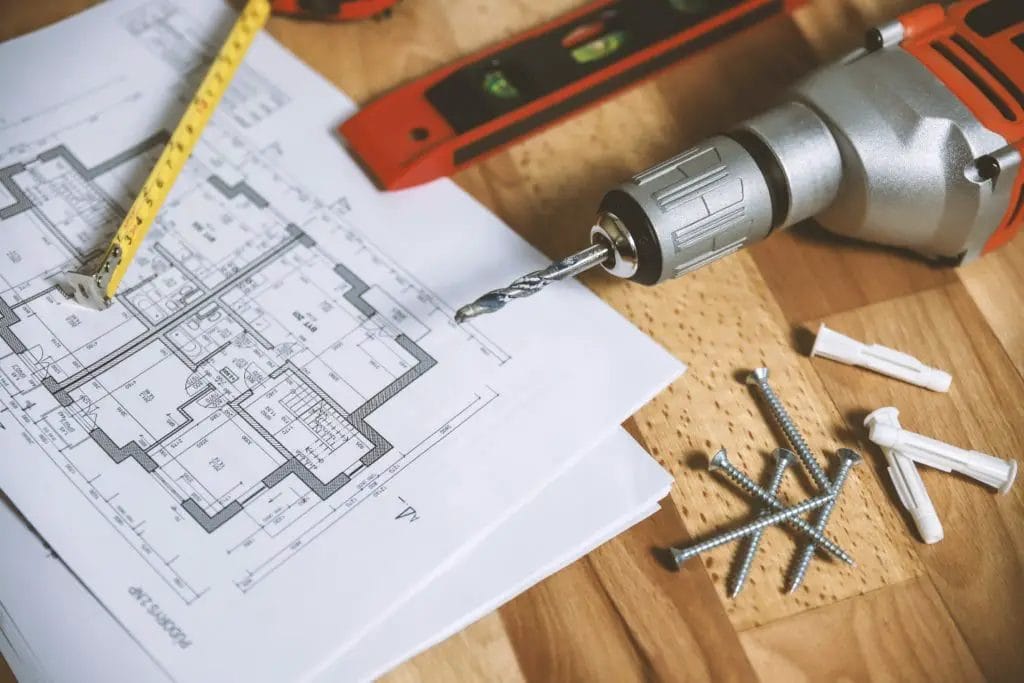
Installing the pot filler is simple enough. You will need some basic plumbing supplies like:
- Plumbing tape or Teflon tape
- rubber screw anchors
- screwdriver
- the screws that came with the pot filler and more like them
- a drill with a drill bit
- hammer
- towel
- bucket
- markers
Step One: Prepare
Open the pot filler packaging, take out the manual, and layout all the parts that came with the pot filler on your counter. There will be a mounting collar with screw holes and a collar that will cover it. There might be a rubber insert behind the mounting collar to prevent it from moving against the tile. To prepare, place the top collar on the neck of the pot filler. Use Teflon tape on the brass nipple and the pot filler to avoid leaks.
Step Two: Mark
Place your mounting collar on the brass nipple of the water supply, take a marker, and mark where the holes will be drilled. Gauge the drill bit you should use by comparing it to the screws that came in with the pot filler. The drill bit should be a little thinner than the screws in the wall anchors. That way, they would get the snuggest fit.
Step Three: Drill
Wear protective goggles and place your drill firmly over your markings. Start your drill while holding it steady with both hands. Let the drill do the work, and don’t push it to speed up the process. When the hole is ready, turn off the drill before pulling it out so that the hole doesn’t get wider on the way out.
There will usually be some sort of backsplash tile. It could come to your advantage since it will add more hold to the screws. However, if they are glass tiles and you are afraid of breaking them, you may need to call your tile guy to have them removed and replaced later.
Step Four: Screw on the Base
Place your mounting collar back and any inserts on the brass nipple. Hammer the wall anchors into the holes in the mounting collar and the wall. Once the anchors are in place, push the screws in with the help of a screwdriver. There is no need to drill the screws in. Sometimes there is a small screw that goes onto the brass nipple to secure the mount from there. Tighten that screw in as well.
Step Five: Secure the Pot Filler
Now that the mount is ready grab your pot filler with the finishing collar on its neck place it on the mount, and screw it into place. Use both hands to screw it from the base and the arm, moving the whole thing. Tighten it until it can no longer make a complete turn. Push the finishing collar back to cover the mount and screws.
Step Six: Flush the System
Take a towel and place it over your stovetop and take a bucket and place it under the pot filler. To ensure no residue in the pipes, run the water on full for thirty seconds. The towel is there in case there are any leaks. Throw away the water from the bucket and step back to admire your new pot filler.
Now, you can make stews, soups, tea, boil pasta, seafood, and a thousand things without carrying heavy pots from the sink to the stove, which is excellent if you have a big kitchen. Your kitchen looks modern and chic, and you may have driven the price of your house a bit. A few people might think it was a waste of time, but most will agree that you know you made a great decision.


